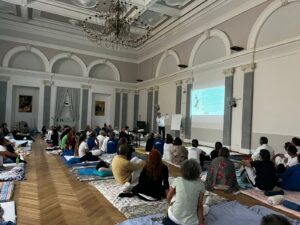
1° Convegno di Pratica e Scambio Shiatsu APOS a Trieste: un’esperienza indimenticabile
Il weekend del 27 e 28 settembre 2024, Trieste ha ospitato un evento speciale organizzato


Il weekend del 27 e 28 settembre 2024, Trieste ha ospitato un evento speciale organizzato
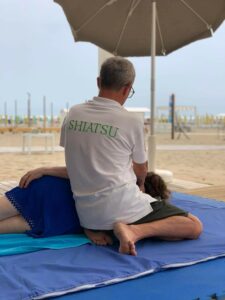
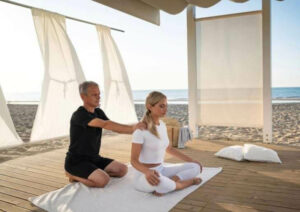
Lo shiatsu è una tecnica dolce che stimola l’autoguarigione e regala benessere ed equilibrio interiore.
Bruce H. Lipton e La Biologia delle Credenze Durante il periodo in cui Bruce Lipton,